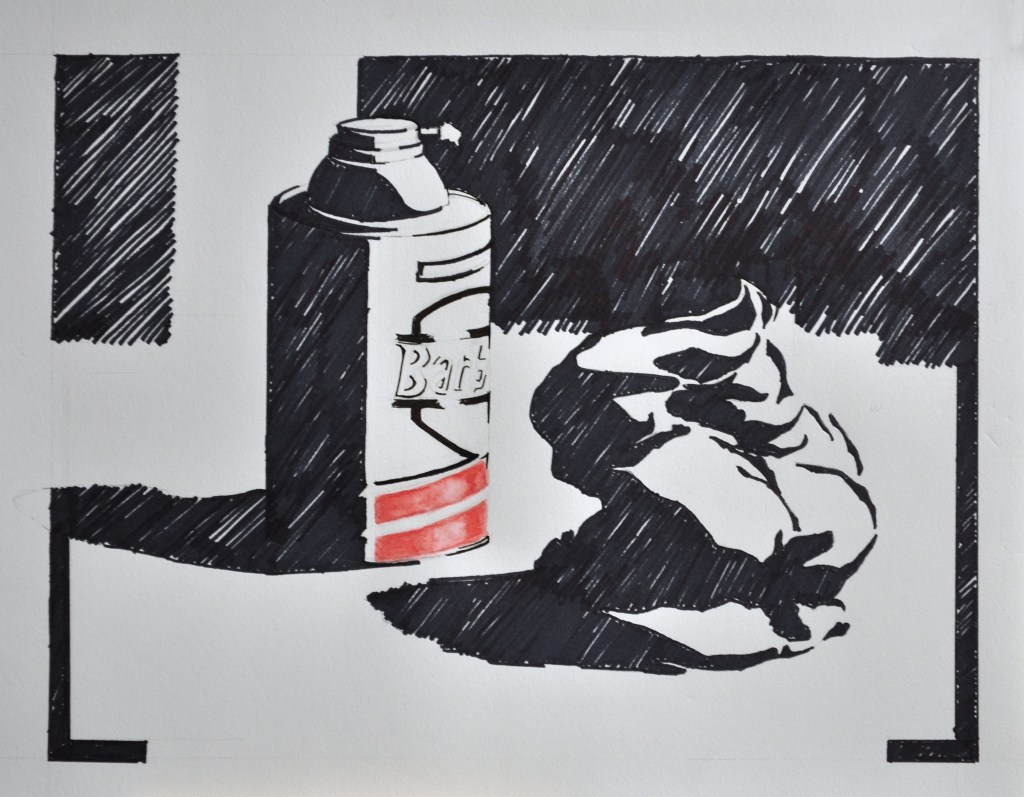
Project 2- Notan Shaving Cream Ad, Part III
Today, you will continue with Project 2. Review previous videos and assignments to make sure you have completed the Project correctly. Make sure you have a border of either black or white; and your design is drawn correctly, especially the symmetry of the can and the ellipses that make up the bottom and top of the can. Make sure the design feels strong and complete.
Today I will explain the watercolor process to use on the stripes.
Watercolour- the Stripes in Red or Green
Materials:
- Project 2- on the multi-media paper, 11 x 14
- Microns
- Black marker, wide, Sharpie (or what is available)
- Watercolor set
- Either a red or green mix to paint the stripes
- Brush
- Water in a container
- Paper Towels
Instructions:
- The marker must be dry to touch before using the watercolor.
- These colored stripes on the can must have a white line between them and the black marker.
- Add a faint outline to where you wish to add the watercolor. Stay within this area.
- ATTENTION: depending on the black marker that you use, it will run if you get it wet with water. Do not go over the black marker with the watercolor.
- Watercolor this area red or green depending on your can of Barbisol.
- Do not make the paint thick, but mix water into your color on the palette until it is the correct color and value.
- Apply paint with your brush in the specific area- again, do not go over the black marker.
- Let dry thoroughly.
Make sure your photo is taken correctly with the drawing in a vertical position and the camera in the middle of your sheet of paper to avoid distortion.
Upload to the final image to this assignment section, Part III.
Due: M/W Wednesday, March 3 before 11:59 AM.
T/TH Thursday, March 4 before 11:59 AM.
Secondly, Please watch Video/questions, “Toned Paper Spoon Rendering”. Due: M/W Monday, March 8 before 11:59 AM. T/TH Tuesday, March 9 before 11:59 AM.